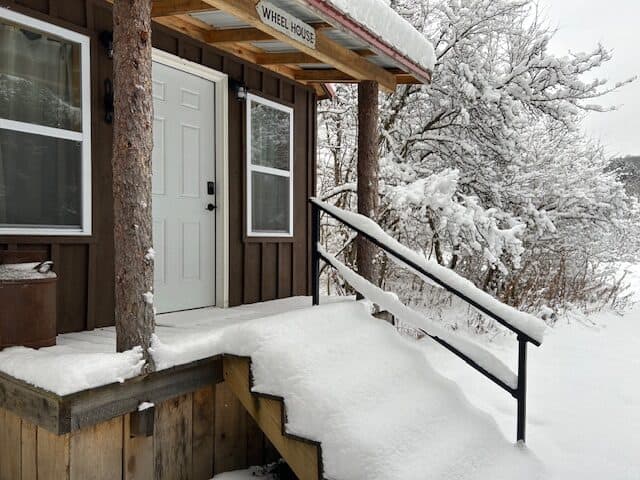
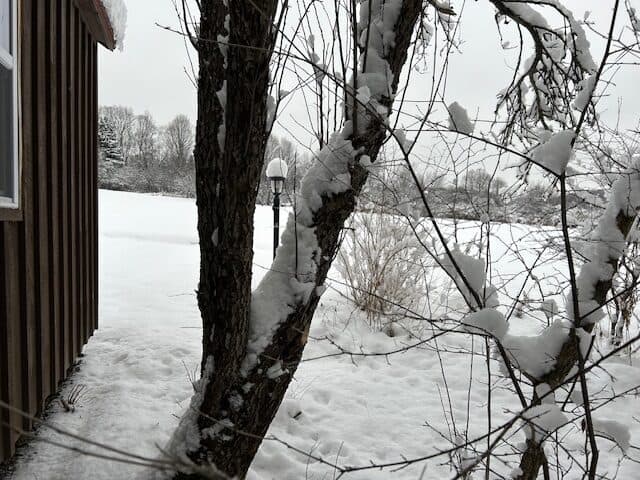
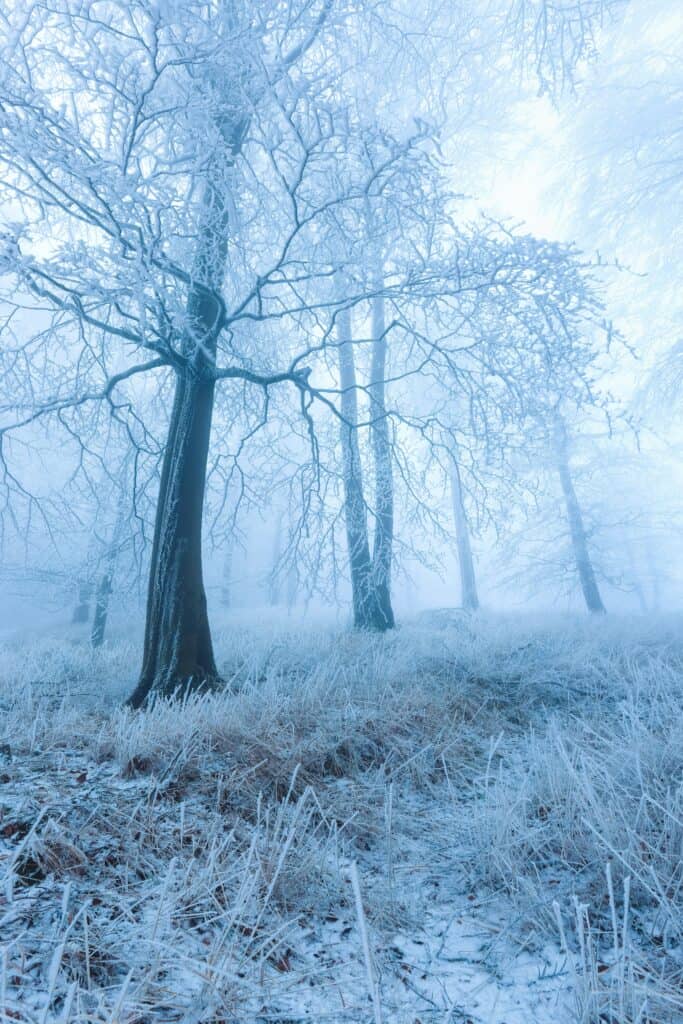
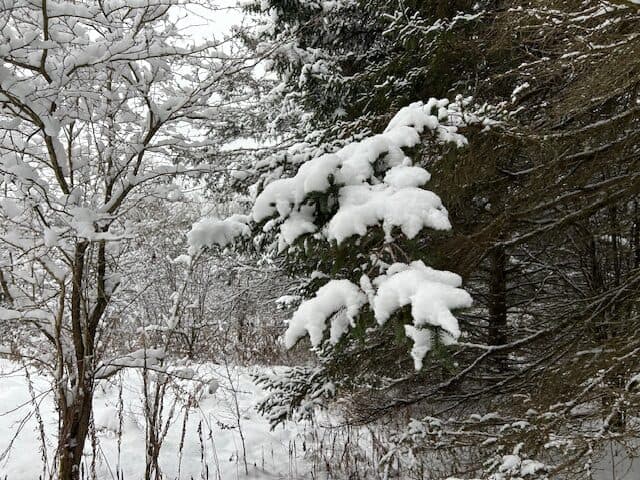
How is it that time of year again?? Summer is fading fast and it’s already time to start thinking about hunkering down for a long and sometimes destructive winter. Winter can be beautiful here (see some pics below) but it’s also harsh on cabins, water systems, and on all the progress that’s been made. Not winterizing properly can lead to burst pipes, mold, damaged gear, rodent and bug tenants, and expensive repairs in the spring.
Here’s a step by step guide for the process of winterizing a glamping campsite. Whether you plan to close down for the season or offer post-snow lodging, taking care of your site before the first freeze is extremely important.
Why Winterizing Matters
Glamping setups are more vulnerable than regular old homes. Cold temperatures, ice, and heavy snow can damage roofs, freeze plumbing, and wear down fabrics.
Winterizing does three things:
- Protects your investment – Everything you’ve built, from cabins to fire pits, lasts longer with proper care. Repelling rodents is also extremely important to avoid expensive damage. It’s amazing how much damage even one mouse can do.
- Keeps guests safe and happy – If you host winter campers, you need safe paths, warm spaces, and reliable systems. We rent to a select group of hunters every year through the beginning of December.
- Saves money – Preventing damage is a lot cheaper than repairing or replacing equipment.
Step 1: Decide Your Winter Strategy
Before you start, ask yourself:
- Am I closing down entirely for the season?
If yes, you’ll need to shut down water systems, store gear, and secure everything against weather and wildlife. - Am I staying open year-round?
If so, you’ll need to winterize differently: insulating water lines, providing safe heating, and preparing for snow removal.
Many glampsite owners close most accommodations but keep one or two insulated cabins open for winter guests. This is the approach we take, winterizing plumbing in mid-October and offering guests a porta-jon and water to rush up with for the colder season. Note: we’re careful to be clear r/e what utilities will be available.
Step 2: Protect Water Systems
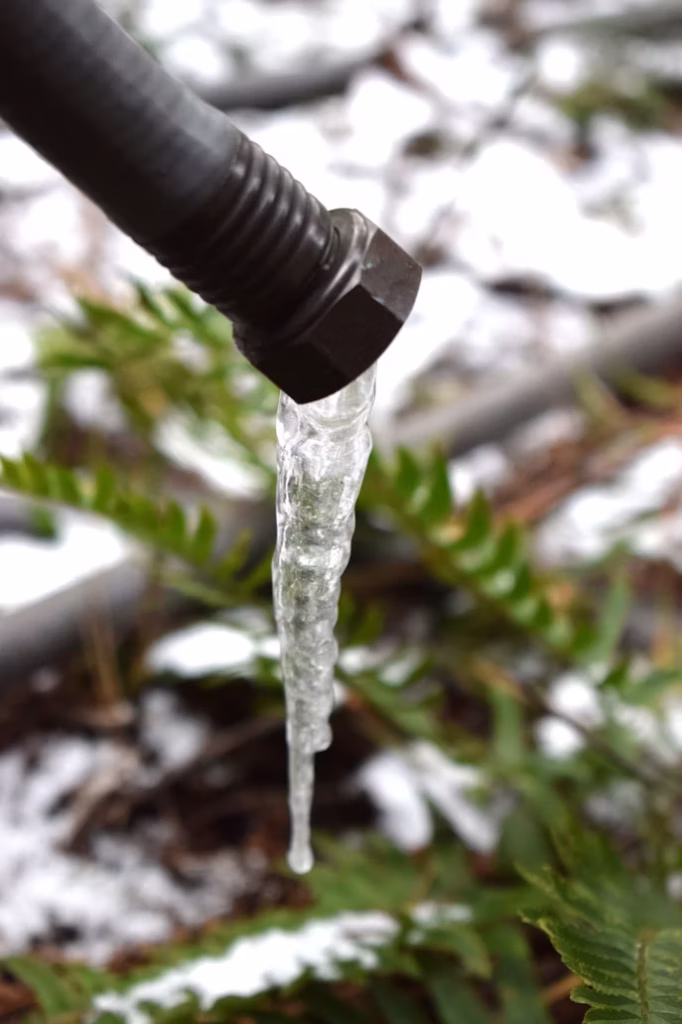
Water is your biggest enemy in freezing weather. It expands when it turns to ice, which means burst pipes, cracked tanks, and major headaches.
If You’re Closing:
- Drain all water lines – Turn off the main supply, open every faucet, and let the water run out. We set up our entire system to allow gravity to do the work for us.
- Empty hot water heaters – Drain tanks completely.
- Use RV antifreeze – Pour non-toxic antifreeze into toilets, drains, and traps to keep them from freezing. Putting antifreeze in the back of the toilet, flushing, then adding a little more are important steps.
If You’re Staying Open:
- Insulate exposed pipes – Foam insulation sleeves are inexpensive and effective.
- Use heat tape – Wrap pipes with electric heat tape to prevent freezing.
- Install skirting around raised cabins if supplied with water – Keeps wind from whipping under and freezing pipes.
Step 3: Secure Structures
Your cabins and other structures take the brunt of winter storms. Strong winds, snow accumulation, and freezing rain can cause major damage if you’re not prepared.
- Check roofs – Reinforce where needed. For cabins, clear gutters and check shingles.
- Tighten fabrics – If you have safari tents or yurts, tighten canvas so it doesn’t flap in winter storms. Our plan is to take anything made of fabric down for the winter and store in large totes and bins.
- Apply waterproofing – If you leave them up, treat tent fabrics with waterproofing spray to protect against moisture.
- Seal gaps – Use weatherstripping on doors and windows to keep out drafts and critters.
- Store removable gear – Roll up and store rugs, bedding, and furniture that could mold or degrade.
Step 4: Protect Outdoor Equipment
- Fire pits – Clean out ashes and cover to keep out snow and ice.
- Hot tubs – Either drain completely or keep running with a winter heater. Don’t leave water sitting.
- Outdoor furniture – Store cushions indoors. Stack or cover chairs and tables.
- Cooking equipment – Clean grills and pack away utensils. Mice love food remnants.
- Lighting – Check solar lights and remove batteries if not in use.
Step 5: Manage Roads and Trails
If there is a chance that guests or workers may still access your site during winter:
- Mark paths – Use reflective stakes or markers to guide snow clearing.
- Plan snow removal – Whether with a plow, snowblower, or shovel, have a system ready.
- Lay down gravel – Helps prevent icy walkways.
- Stock salt or sand – Keep it handy for slick areas.
Step 6: Wildlife Protection
When human activity slows down, animals move in. Mice, raccoons, and squirrels (especially those nasty red squirrels!) can destroy insulation, chew wires, and nest in stored gear.
- Seal food – Never leave anything edible in cabins or tents.
- Use storage bins – Keep linens and fabrics in sealed plastic containers.
- Block entry points – Patch holes in siding, flooring, and roofs.
- Consider repellents – Peppermint oil, mothballs, or electronic deterrents can help.

Step 7: Winter Energy Solutions
If you’re keeping some units open:
- Heating – Safe heating is critical. Wood stoves, propane heaters, and electric units all work, but must be monitored for safety. Install carbon monoxide detectors.
- Insulation – Add rugs, curtains, and draft stoppers. Even small touches keep cabins warmer.
- Backup power – A generator or solar battery bank can save you during outages.
Step 8: Closing Down Common Areas
Your bathhouse, lounge, or kitchen may need extra attention.
- Bathhouse – Drain all plumbing, shut off power, and deep clean.
- Kitchens – Empty refrigerators and pantries, unplug appliances, and scrub surfaces.
- Lounge spaces – Store cushions, clean rugs, and cover furniture.
Think of it as putting your entire camp to sleep until spring.
Step 9: Document and Inspect
Before you lock up for the winter, walk through the entire property with a notebook or phone camera.
- Take pictures of each unit – Helps if you need to file insurance claims later.
- Note repairs for spring – You’ll thank yourself later.
- Make a checklist – Next year, winterizing will be faster if you follow your own guide.
Step 10: Stay Guest-Ready (If Open)
If you’ll host winter campers, go the extra mile:
- Offer warm bedding – Flannel sheets, down comforters, and extra blankets.
- Stock firewood – Dry wood in easy reach makes a huge difference.
- Provide boot trays and coat racks – Guests appreciate small comforts.
- Create good vibes – Candles, fairy lights, and rugs make cold nights magic.
Winter camping can be unforgettable when done right.
Step 11: Plan for Spring
Winterizing isn’t just about closing down—it’s about setting up for when warm weather returns.
- Schedule maintenance – Roof repairs, landscaping, and system upgrades are easier in spring.
- Budget for improvements – Use downtime to plan next year’s projects.
- Market early – As you close, start teasing spring bookings on your website and social media.
Final Thoughts
Winterizing your glamping campsite takes time, but it’s one of the best investments you can make in your business. Whether you’re shutting down completely or keeping cabins open, careful preparation protects your property, saves money, and ensures everything is ready for spring.
If you put all away correctly for a long winter nap, it will make spring quick and problem free.
Any thoughts or ideas? We’d love to hear from you.
Happy hosting!
.
.