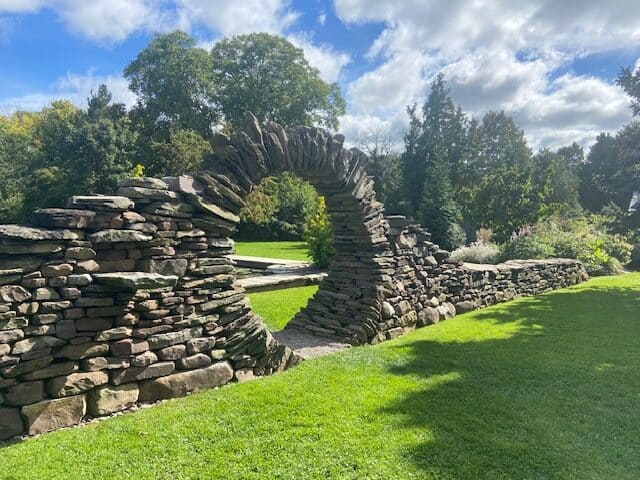
A few years ago I spent a long weekend learning the basics of dry stone walling. We gathered at Sara’s Garden Center in Clarkson, NY. and, under the guidance of the queen’s waller from Scotland (how cool is that?) we built the moon gate pictured below. Professional landscapers and other dry stack enthusiasts gathered to learn from the world’s best. It was worth every second.
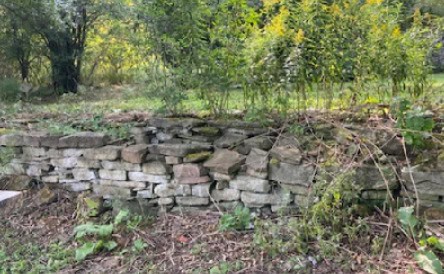
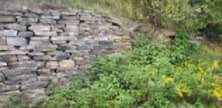
Scattered throughout our glamping campsite are stone foundation walls that were built more than 150 years ago. They are gorgeous features in our landscape and we are so grateful for them. And with this year’s especially dry summer and easy access to perfect building stones from the creek, it feels like the perfect time to blog about dry stone wall building.
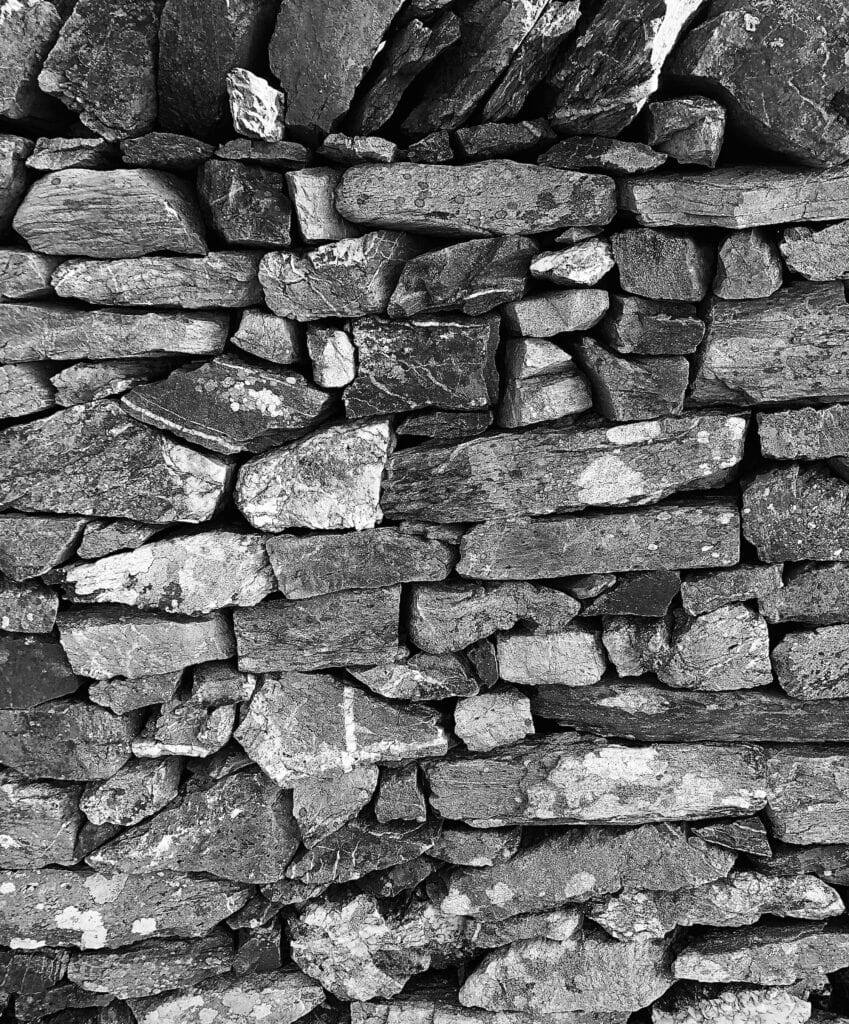
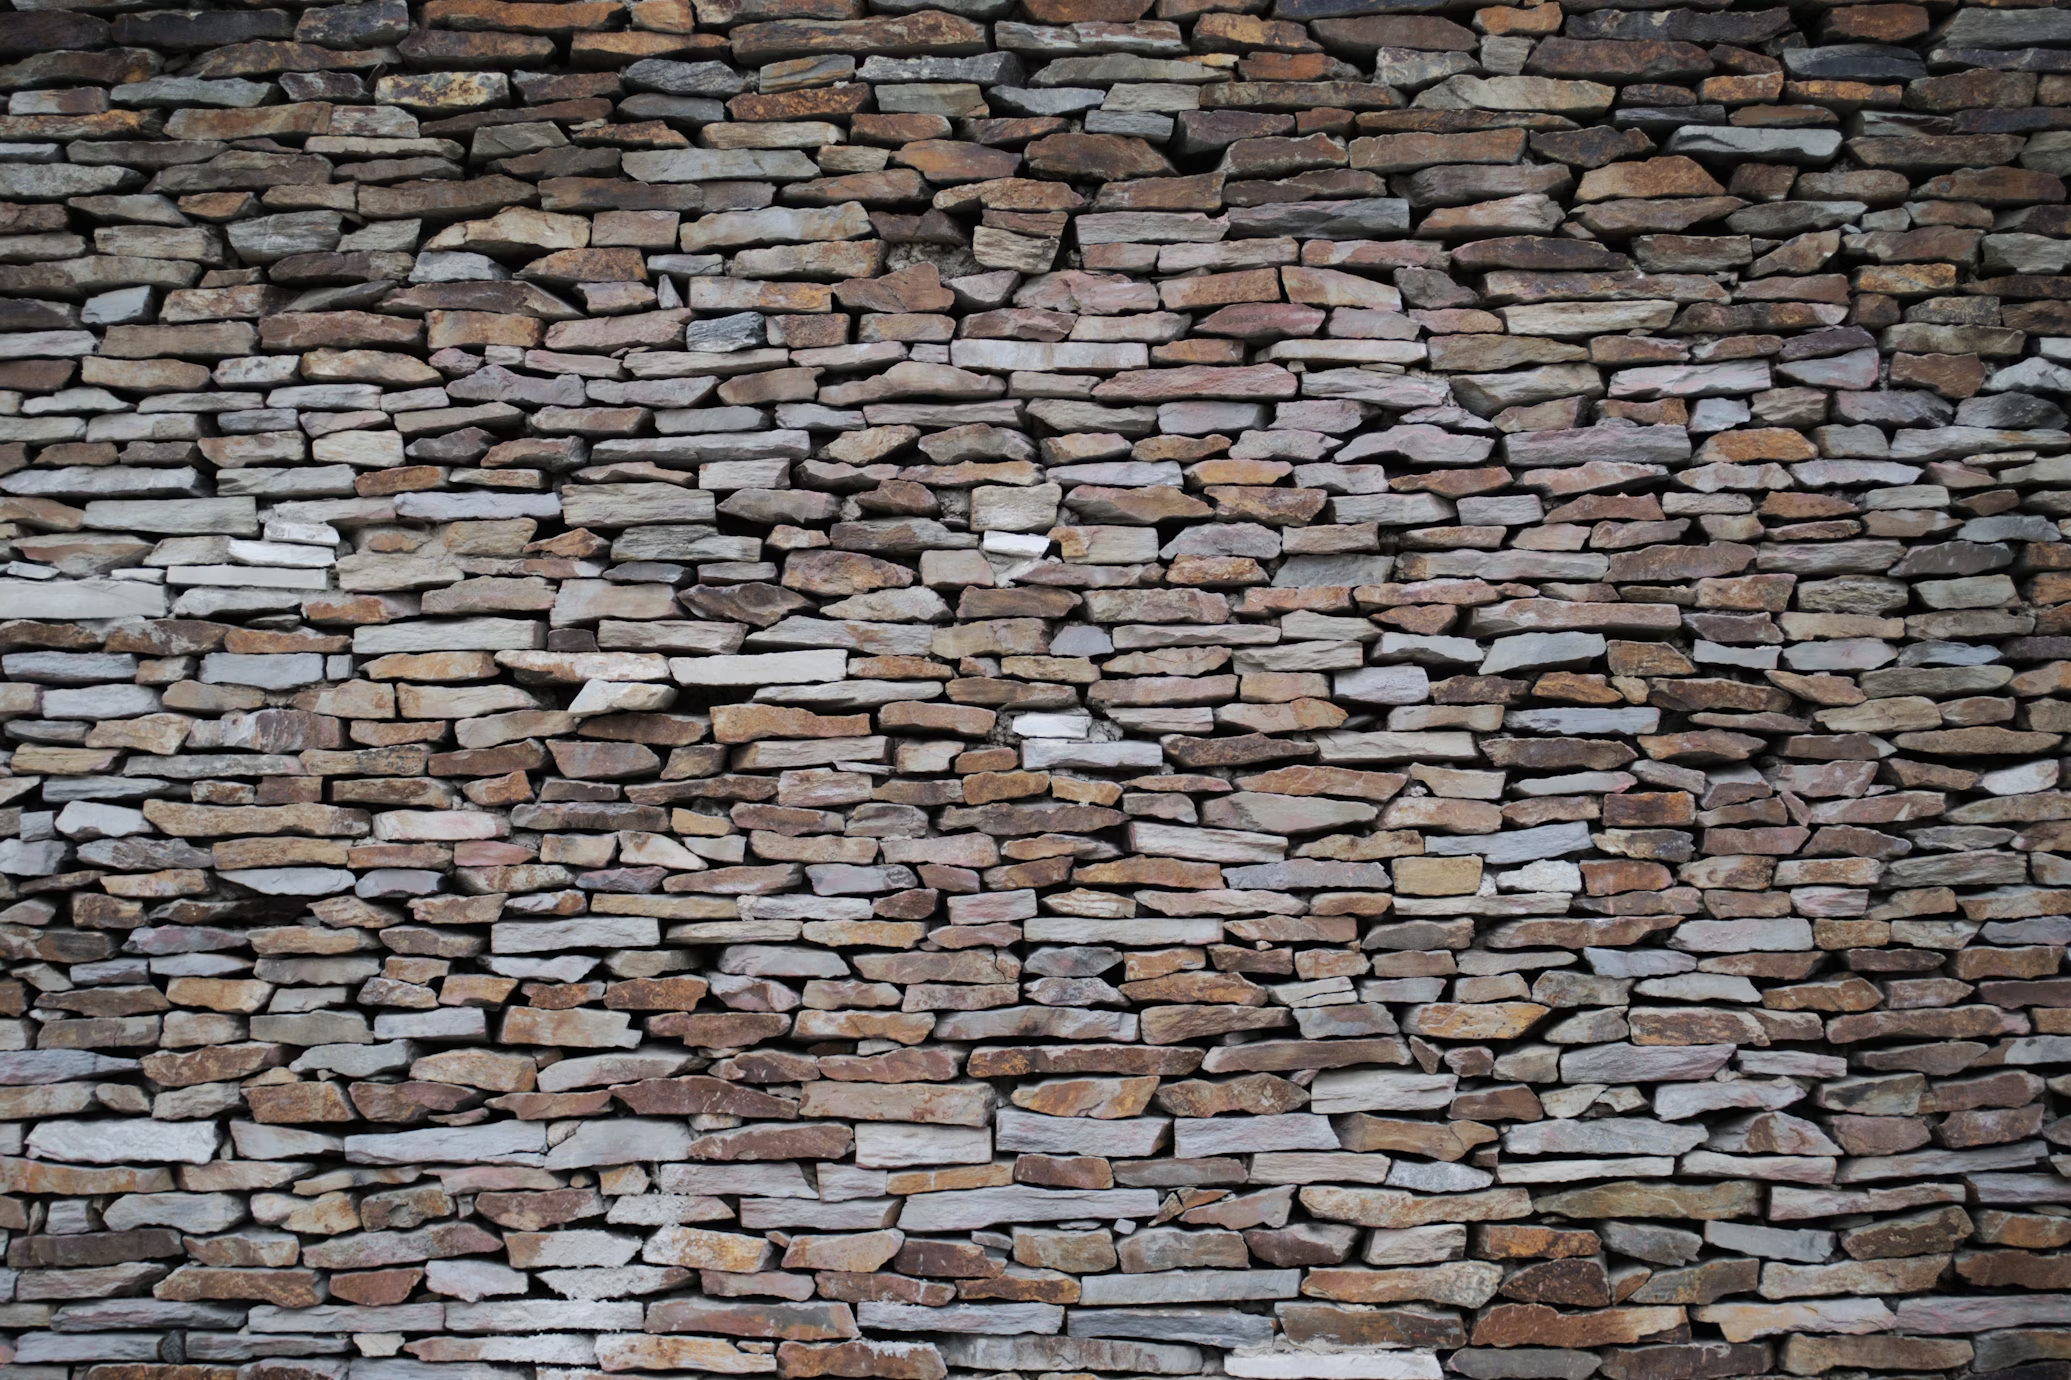
There’s something magic about a dry stack stone wall. Built without mortar, these walls have been part of landscapes for thousands of years—marking boundaries, creating terraces, and adding beauty to gardens and farms.
Building one yourself might feel like a lot, but the process is fairly simple if you’re patient, methodical, and willing to put in some physical labor. In this blog we’ll explore the history of dry stack walls, why they work so well, the tools and materials you’ll need, and instructions for creating a wall that will stand for decades.
Timeless Dry Stack Walls
Dry stack stone walls have been around since ancient times. Farmers and landowners used stone (available and free) to separate fields, contain livestock, or plateau sloping land. Requiring no cement or lime, they were affordable and practical.
What makes these walls amazing is their durability. A well-built dry stack wall can easily last 100 years or more, surviving deep freeze and thaw, rain, and shifting land. Their strength comes from careful placement, gravity, and friction.
Dry stack walls are popular in landscaping because they:
- Blend naturally with surroundings – Stone looks like part of the earth (because it is).
- Allow for drainage – No mortar means water seeps through instead of building pressure.
- Require simple materials – You only need stone and tools.
- Are environmentally friendly – No cement or chemical additives required.
Choosing the Right Stone
Choosing building stones wisely is key. Look for stones that are:
- Flat and angular – Flatter stones stack more securely than round ones.
- Locally available – Buying from a local quarry or using stones from your property keeps costs low and ensures the stone matches your environment.
- Durable – Hard stones like granite, limestone, or fieldstone hold up better than softer stones that may crack or crumble.
You’ll need a mix of sizes:
- Large foundation stones for the base.
- Medium stacking stones for the bulk of the wall.
- Smaller chinking stones to fill gaps and lock larger stones into place.
Tools You’ll Need
- Work gloves and safety glasses
- Shovel and digging bar
- Wheelbarrow or large dolly for moving stone
- Mason’s hammer or rock hammer
- Chisel (for shaping stones)
- String line and stakes (to keep your wall straight)
- Level and measuring tape
- Tamper or hand compactor
Optional but helpful tools include a stone splitter or angle grinder with a masonry blade if you need to shape stone more exactly.
Planning Your Wall
Before building, think about:
- Purpose – Are you building a boundary marker, a decorative garden wall, or a retaining wall? The purpose affects the size and placement.
- Location – Choose stable ground. Avoid swampy or constantly shifting soil.
- Size – A typical garden wall is 2–3 feet high. For retaining walls, you may need more height and reinforcement.
- Drainage – Because water flow can erode or push against your wall, plan for good drainage around the site.
A good rule of thumb: the wall’s base should be about half as wide as its height. For example, a 3-foot wall should have a 1.5-foot base.
How to Build a Dry Stack Stone Wall
1. Prepare the Site
- Mark your wall’s path with stakes and string.
- Dig a trench along the line about 6–8 inches deep and slightly wider than your planned base.
- Fill the trench with gravel and compact it. This creates a stable, draining foundation.
2. Lay the Foundation Stones
- Place the largest, flattest stones in the trench.
- Make sure they’re level and stable. This row sets the tone for the entire wall.
- Take your time—rearranging now saves problems later.
3. Start Stacking
- Lay stones in horizontal courses (layers).
- Overlap seams like bricks, so joints don’t line up. This creates strength.
- Lean stones slightly inward toward the wall’s center (called batter). Aim for about 1 inch of inward slope per foot of height.
- Your basically building two parallel walls, with chinking between them, filling every gap as you build.
4. Use Chinking Stones
- Fill gaps between larger stones with small pieces. These act like wedges, locking the structure together.
- Avoid stacking too many small stones together without a larger anchor.
5. Build Up Evenly
- Work on both sides of the wall as you go, keeping the height even.
- Check regularly with a level and string line. Straight doesn’t mean strict—some natural variation gives character.
6. Capstones
- Once you reach the desired height, place large, flat capstones across the top.
- These add stability by locking everything below in place. They also give some protection from erosion.
Tips for Success
- Sort your stones before starting. Having piles of big, medium, and small stones nearby saves time.
- Be patient. It may take trial and error to find the perfect stone for each spot. You’ll get the hang of it.
- Work with gravity, not against it. Always place stones so they sit firmly without wobbling, chinking in between.
- Keep the wall slightly wider at the base. This improves stability.
- Don’t rush the foundation. A strong base ensures a long-lasting wall.
Common Mistakes to Avoid
- Using round stones – roll and create weak spots.
- Straight vertical joints – creates cracks where the wall can split.
- Building too tall without width – A narrow, tall wall will probably collapse.
- Skipping drainage – Water pressure can push over a wall if it can’t escape.
- Not leaning inward – Vertical walls are less stable than those with a slight batter (angle).
Adding Character and Function
You can add features to make your wall unique, like:
- Niches or planting pockets – small gaps for herbs or moss to grow.
- Steps or openings – passageways or seating areas.
- Mixed stone types – A blend of colors and textures for visual effect.
Over time, lichens and moss will grow, softening the wall’s look and blending it into the landscape.
Maintenance and Longevity
One of the beauties of dry stack walls is how easy they are to maintain. Unlike mortar walls, which crack and crumble over time, a dry stack wall can be repaired by just repositioning or replacing stones.
Inspect your wall annually for:
- Stones that have shifted after frost or heavy rain.
- Vegetation pushing stones out of place.
- Erosion at the base.
Make minor repairs promptly, and your wall could last for generations.
Why Build One Yourself?
Beyond function and beauty, building a dry stack stone wall is extremely satisfying. I still am proud of my contributions to the moon gate above. Each stone is like a puzzle piece, and the process becomes almost meditative. By the time you place the last capstone, you’ll have a monument to patience, craftsmanship, and connection with the land.
Whether you’re marking a boundary at your glamping campsite, creating a garden edge, or supporting a hillside, a dry stack wall will serve both practical and aesthetic purposes for years to come.
Final Thoughts
Dry stack stone walls represent a connection between human hands and the natural landscape, standing as useful structures as well as enduring works of art.
If you do it right, your stone wall will far outlast you. Generations to come will appreciate what you’ve made and tip their hats to your work. Very worthwhile indeed.
As always, comments and ideas are always welcome.
Happy building!
.
.
.
.
Photo by James Qualtrough 🇮🇲 on Unsplash
