This blog is about adding to your camping menu by cooking in aluminum foil on an open fire.
Do you love good food but your idea of camping food prep is stopping on the way to camp for a pizza or a sub?
Do you make great plans for amazingly delicious camping meals but always leave the most important ingredient at home in the kitchen cabinet?
Do you appreciate a great campfire meal but you’re a far cry from Guy Fiore?
If so, this blog’s for you.
Here are some cooking in foil basics along with 5 dishes to put in your campfire chef bag of tricks.
Using aluminum foil for campfire cooking
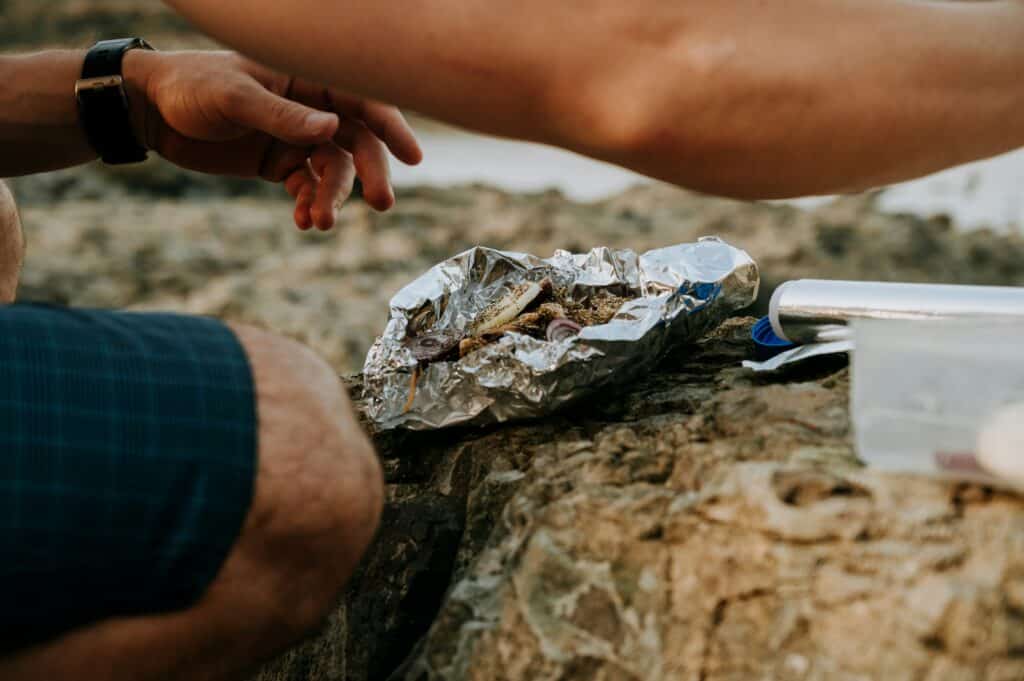
Aluminum foil isn’t just something to wrap yourself in or something to make a hat out of to kill some time. Cooking in aluminum foil packets is also a great way to prepare meals on a campfire or grill.
Cooking this way adds to more even and controlled cooking compared to grilling directly over an open flame. It makes cleaning up A LOT easier. And everyone in the family can make their own packet to suit their tastes.
The basics
Here’s what’s needed:
Heavy duty aluminum foil.
Tongs or fire gloves
A metal knife to cut open the packet
Here’s what’s recommended:
Unsalted butter
Wine for flavor and moisture (plus you can drink what’s left)
Broth
Salt, pepper, and whatever seasonings you like
Oh, and whatever food you want to cook!
Here’s a quick walk- through of the process
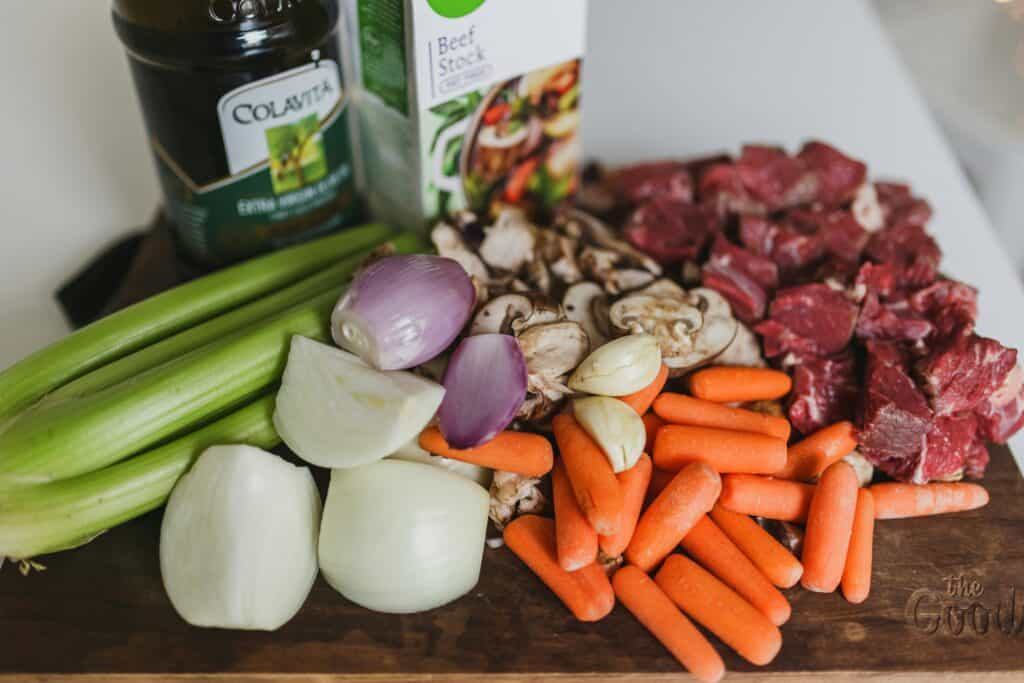
Prep ingredients
Cut vegetables, meats, and whatever else you might like into pieces (bite size works well).
Doing this at home and bringing everything along in Tupperware or Ziplocs can make things even easier.
Season to taste.
It’s best to avoid acidic or salty foods – cooking with aluminum foil is generally safe but acidic or salty foods being cooked at high temperatures can add to the potential for aluminum leaching.
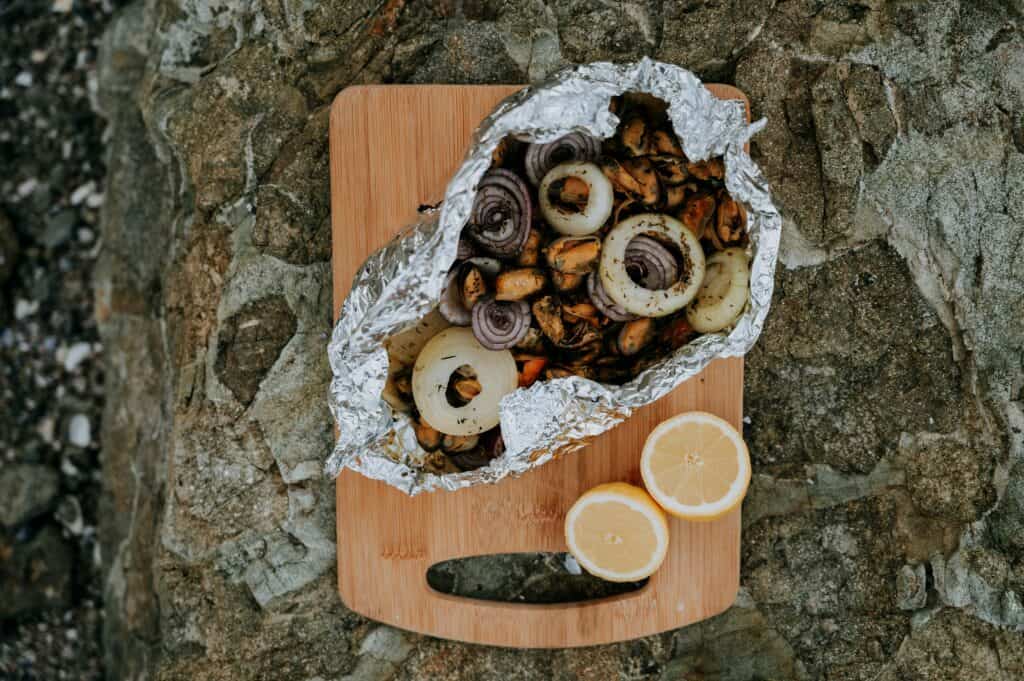
That’s a wrap
Put your ingredients in the center of a large sheet of aluminum foil (go big or go home!).
For regular aluminum foil it doesn’t matter if the shiny side is on the inside or the outside. For non-stick, the duller side goes toward the food (which makes the food more attractive from the outside anyway).
Fold the edges of the foil upward and add broth, wine, or butter if you’d like.
Fold the edges the rest of the way – cover the food and seal the packet tightly.
Double-wrap the packet with another sheet of foil for a little more protection and leak avoiding.

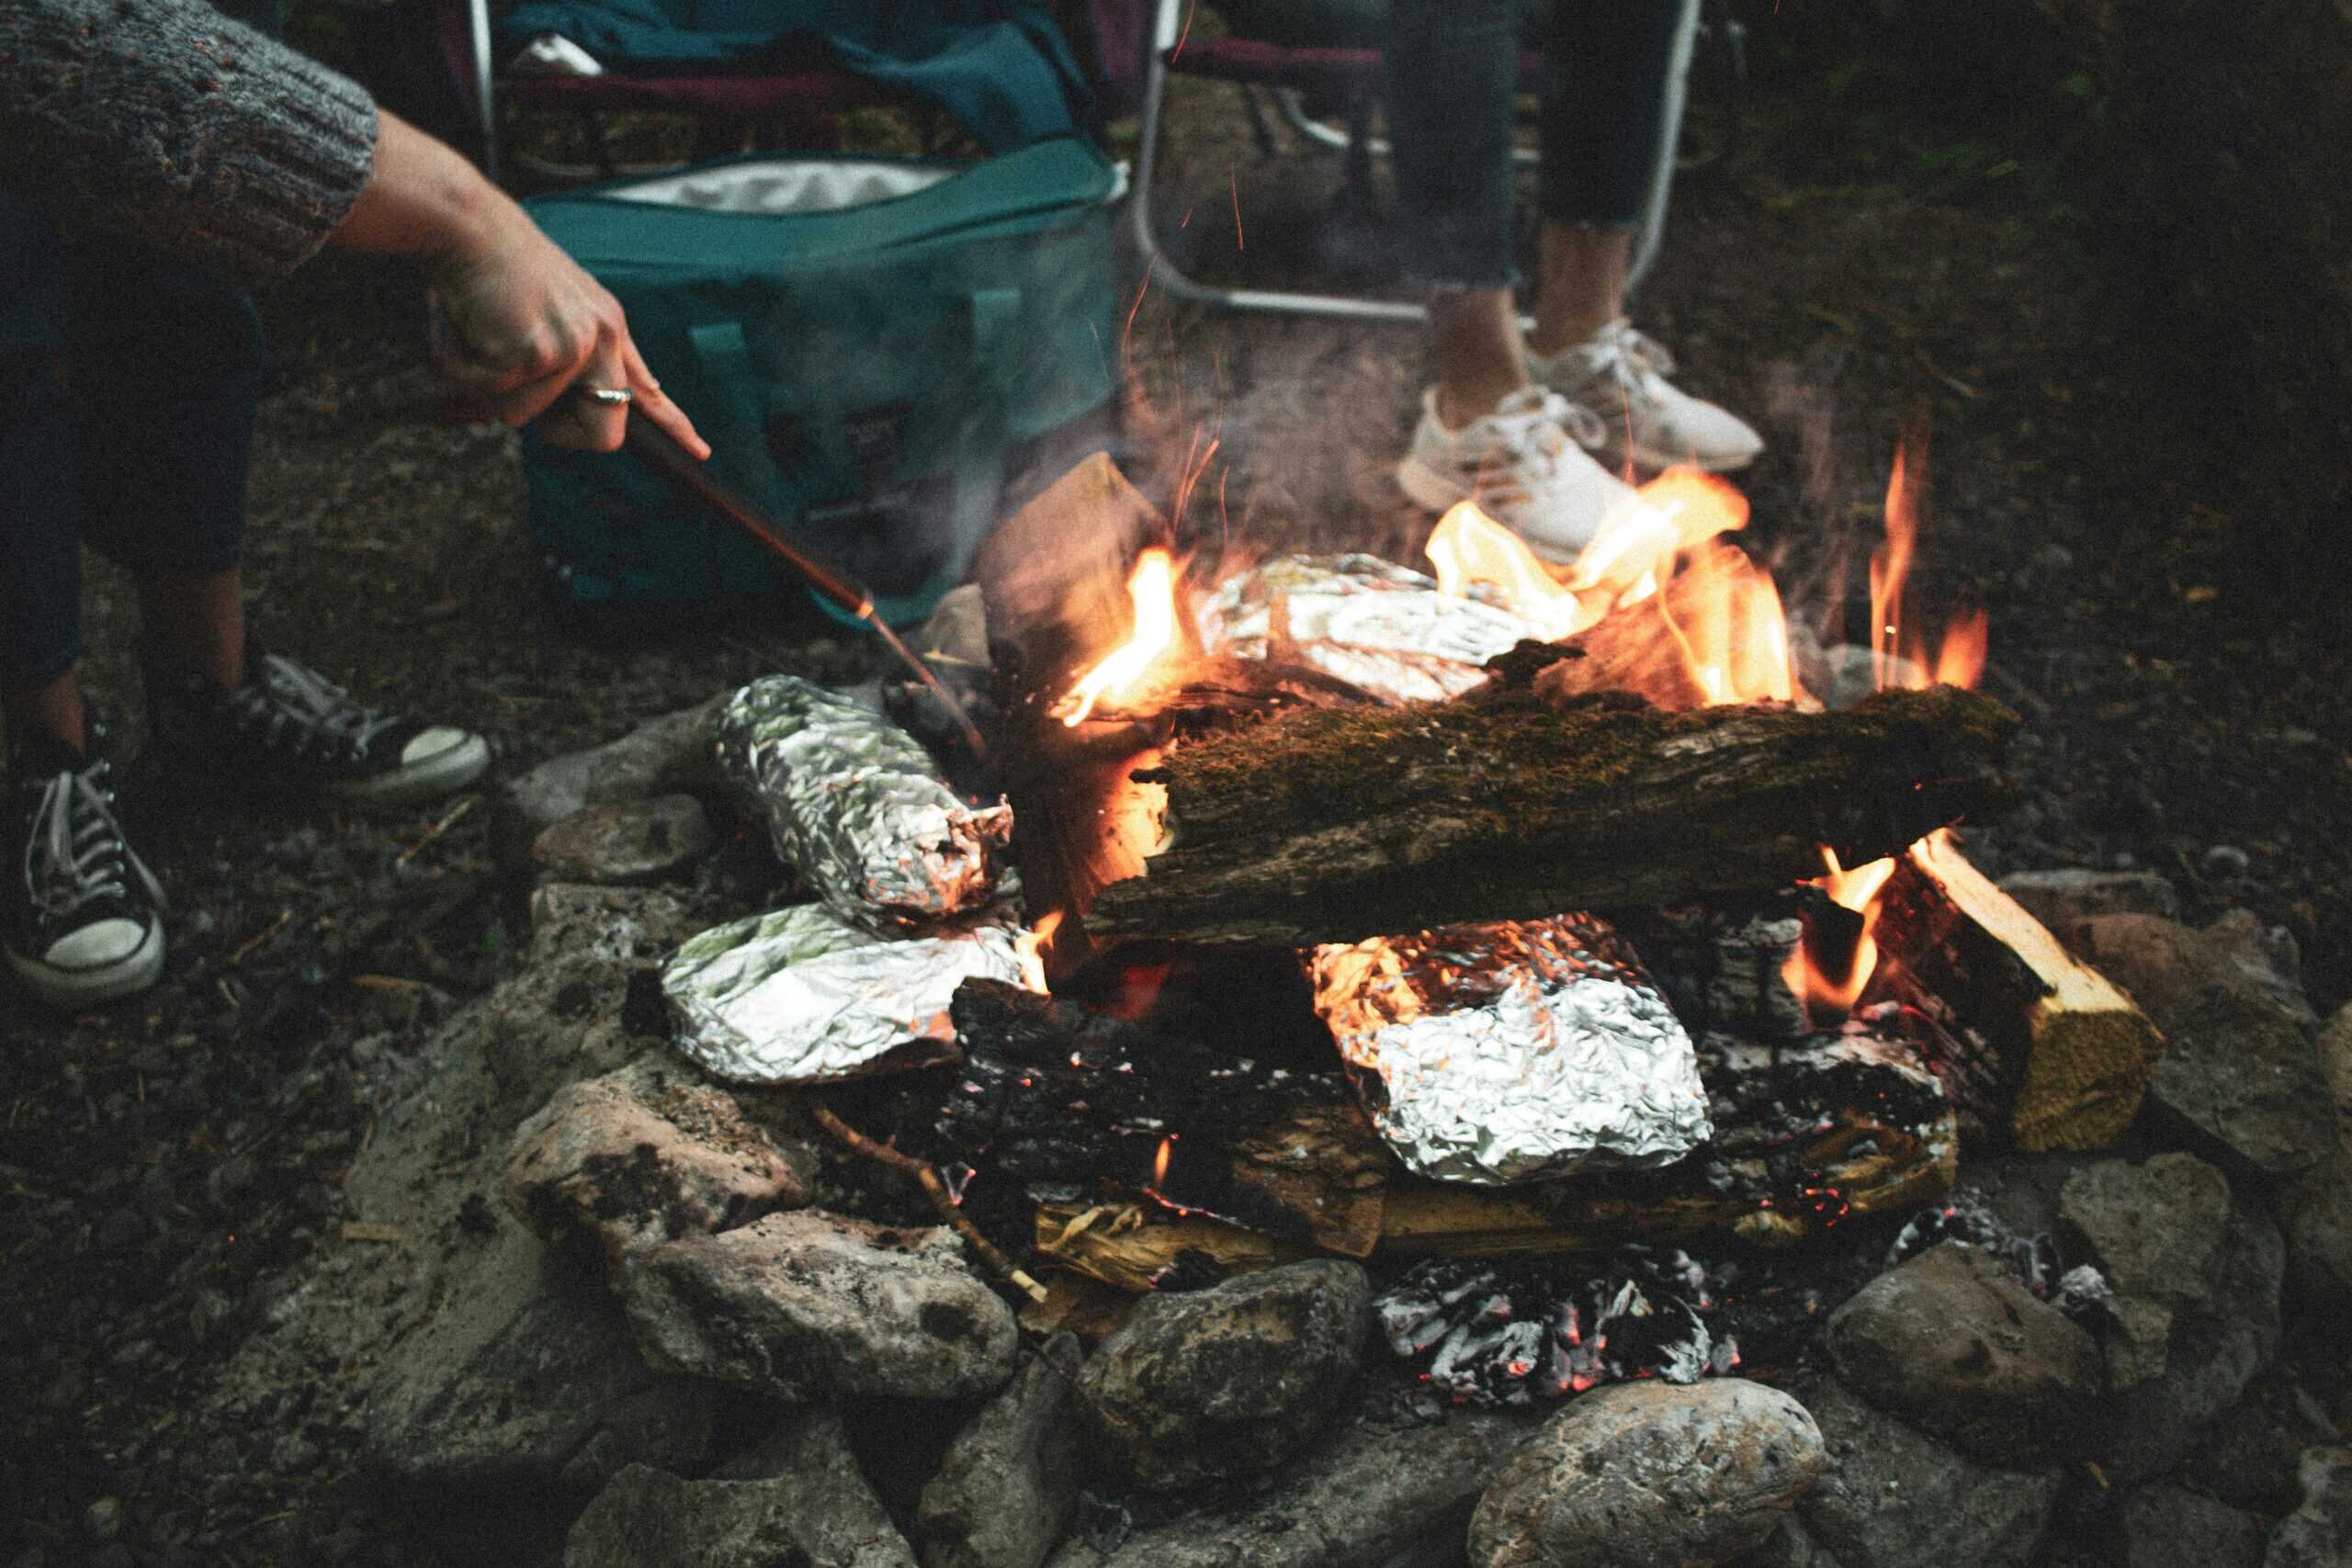
Campfire time!
Your fire should be going long enough to have a bed of hot coals.
Place the packets on the coals with the tongs or fire gloves you remembered to bring. You can also put the packets above the coals on a grill grate if you have one (for grate results :/).
Flip every 10-20 minutes to ensure even cooking. Cooking times depend on the size of the ingredients and the heat of the coals.
If it takes a while at least you’re sitting by a campfire with friends!
Open the packet and check for doneness. It can always be resealed and cooked more if needed.
Pretty easy, right? And delicious! Now here are five aluminum foil dishes to get you started:

Corn on the cob
What do you need to bring?
Corn on the cob
Optional: butter, olive oil, salt, pepper, and whatever other spices you dig.
Remove all the husks, silks, and leaves. Rinse under cool water and pat dry. Place an ear of corn on a double layer of foil.
Drizzle melted butter or oil over the corn (in case you didn’t bring a butter warmer with you camping, just rub the end of a stick of butter on it!). Season the corn with salt and pepper or your favorite spices, like chili powder, garlic powder, or paprika.
Wrap each ear of corn in the foil, securing the sides and ends tightly to create a sealed package.
Place the corn packets on the grill over medium heat. Turn often while cooking for even grilling. Cook until the corn is tender and slightly charred, about 15-20 minutes.
Remove the corn with the tongs that you remembered to bring and put it on a plate that won’t melt. Let the packets rest for about 5 minutes (they’ve had a long day!) Carefully vent the foil to let any steam escape and then unwrap it. Serve with more butter, oil, seasonings, or anything else that sounds good to you.
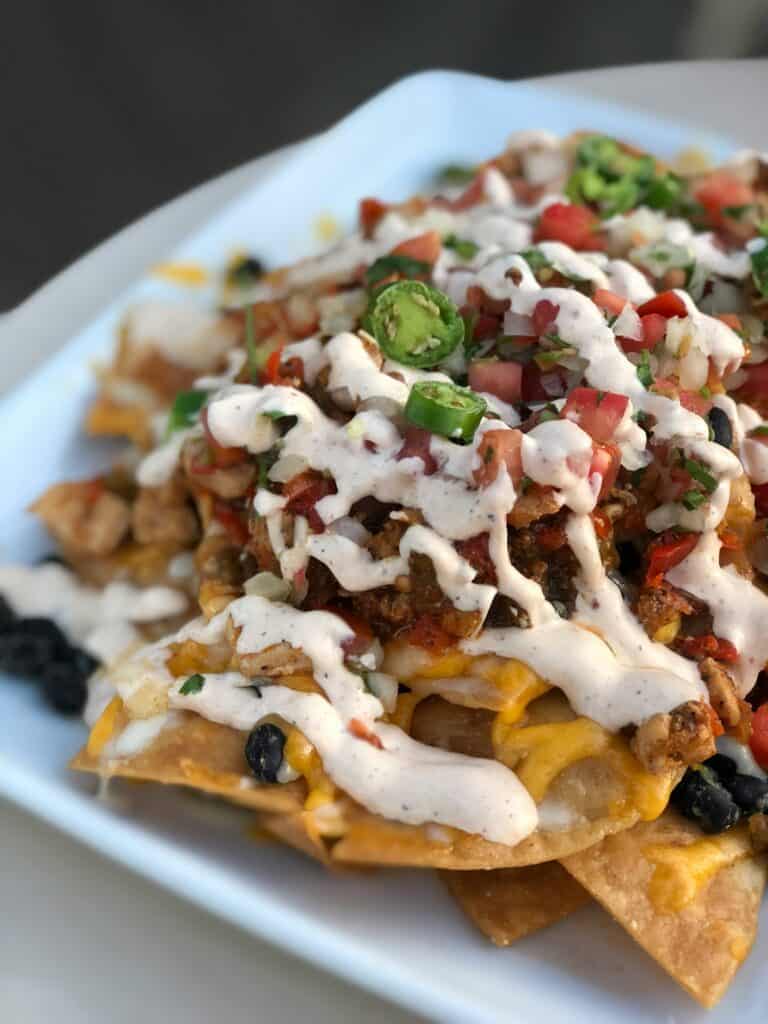
Grilled Nachos!
What do you need to bring?
Nacho Chips
Shredded cheese (Cheddar, Monterey Jack, or a Mexican cheese blend are all great options)
Optional, but amazing: Precooked chicken cubes or browned hamburger or pulled pork
Jalapenos, green onions
And then as toppings to add after it’s warmed up: sour cream, guacamole, salsa
Directions
Lay down an 18-inch piece of foil
Make a pile of chips in the center of the foil, leaving 2 inches chipless around the edges.
Add cheese and any other ingredients you want heated up.
Put another piece of foil over it and crimp the edges all the way around.
Put the packet over medium heat.
It doesn’t need to be flipped and should take about 8 to 10 minutes.
Check for doneness. Reseal and put back on heat if it isn’t there yet.
When it is, add the other toppings and enjoy!

Smoked sausage and potatoes!
What do you need to bring?
1 pound of kielbasa sausage
6 small red potatoes
2 ears yellow corn shucked
2 tablespoons unsalted butter
½ teaspoon salt
¼ teaspoon black pepper
½ cup colby-jack cheese shredded
Directions
Make two foil packets for the food on this ingredients list.
Cut the sausage and the potatoes into 1-inch pieces
Cut each ear of corn into 3 pieces
Divide evenly between the two foil squares
Top with the butter, salt and pepper
Close up the packet
Cook on one side for approximately 10 to 12 minutes
Flip over and cook for another 10 to 12.
Cut open the package, making a capital I in the foil (to make little French doors for your food)
Add the colby-jack and let it melt!

Breakfast
What do you need to bring?
6 eggs
½ cup milk
Salt and pepper
Package of frozen hashbrowns (thawed)
1 cup of protein (diced ham, bacon, crumbled sausage, etc)
2 cups shredded cheese
Butter or cooking spray for foil
Cold toppings, like chives, sour cream, sliced avocado, etc.
Per the Reynolds Wrap site, here are the directions:
- Crack the eggs into a 1 gallon Ziplock bag, add the milk, hash browns, protein, cheese, and salt and pepper to taste.
- Seal the bag and massage it to mix all ingredients well.
- Have each person preparing a foil packet, brush their foil with butter or spray with cooking spray and fold their foil into a pouch.
- Divide the mixture up by having everyone spoon the mixture into their foil pouch and fold the top opening three times like they did the sides of the foil pouch earlier.
- Place packets over a campfire or grill for about 10 minutes or until eggs and hashbrowns are cooked.
- Open your foil packet (careful, it’s hot!) and add any topping you would like and enjoy.
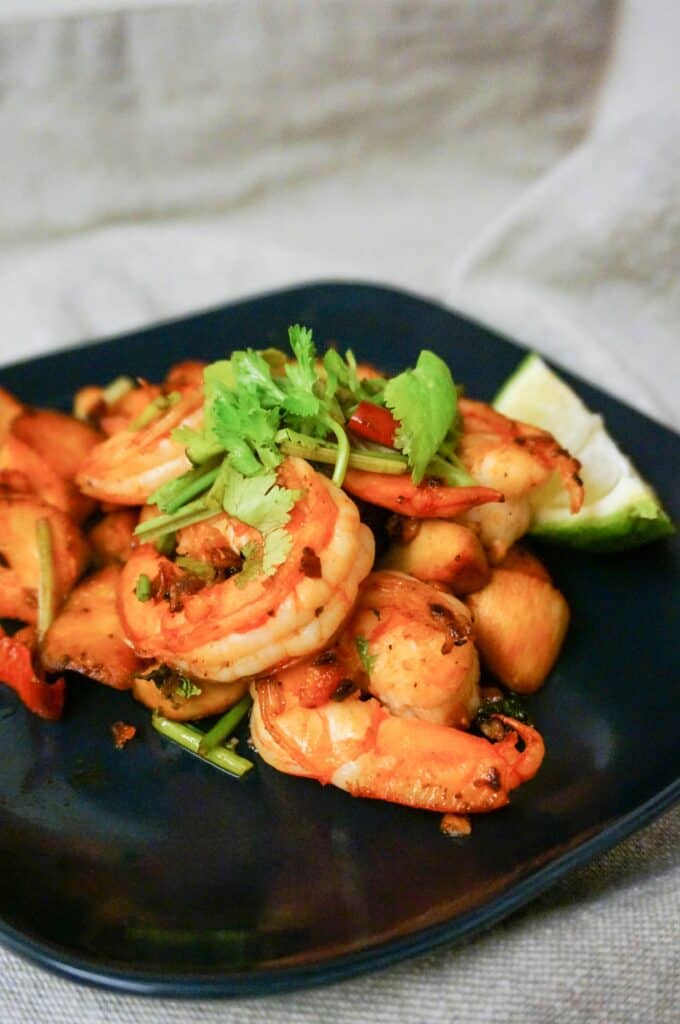
Last but not least, shrimp!
You will need to bring (and this one is a bit more fancy):
- 4 garlic cloves, 2 grated, 2 thinly sliced
- 1/2 teaspoon kosher salt
- 1 tablespoons extra virgin olive oil
- 40 jumbo peeled and deveined shrimp (slightly over 1 pound)
- 1/4 cup dry white wine
- 1 tablespoon fresh lemon juice
- 4 pinches red pepper flakes
- 2 tablespoons unsalted butter, melted
- 3 tablespoons chopped parsley
- Whole wheat crusty bread, optional for serving
- 1 lemon, cut into wedges
Again, directions complimentary of Reynolds Wrap (Thanks, Reynolds Wrap!)
:
Step 1
Whisk the grated garlic, salt, oil in a medium bowl. Add shrimp, toss to coat, and chill, uncovered, at least 30 minutes and up to 1 hour.
Step 2
Make foil packets. Tear off 4 16” sheets of aluminum foil.
Step 3
Place 10 shrimp on the center of each foil sheet. Top each with remaining garlic slices, 1 tablespoon wine, lemon juice, pinch red pepper flakes and 1/2 tablespoon melted butter over each.
Step 4
Bring up the long sides of the foil, so the ends meet over the food. Double fold the ends, leaving room for heat to circulate inside. Double fold the two short ends to seal the packet.
Step 5
Grill over high heat, 8 minutes. Use gloves or tongs to remove and carefully open. Top with chopped parsley. Serve with lemon wedges.
Enjoy!
We wish you great times and great eating on your next camping adventure. Hopefully you found some ideas here that you can use! Leave a comment or connect through the Glampsite Joe Contact page if you have ideas you would like to share.
.
.
.
.
Photo by Bridger Tower on Unsplash
Photo by Julia Maior on Unsplash
Photo by Nathan Dumlao on Unsplash
Photo by Samar Khan on Unsplash
Photo by Diego Carneiro on Unsplash
Photo by Natasha Bhogal on Unsplash
Photo by Andre Ouellet on Unsplash
Photo by Maggie Hung on Unsplash
Photo by Karl Hörnfeldt on Unsplash
4 Comments
All sound yummy. We used to do *Boy Scout* dinners. Burgers, peppers, onions, salt and peppers.
That sounds amazing! We’ll have to add it to the menu!
Mickey’s
Use heavy duty foil. ( 2 layers work great)
cut a potato in half lengthwise.
( thin skin potatoes taste best)
add 4-6 squares of salted butter
a little bit of salt
crushed red paper flakes ( or cayenne powder)
garlic powder
( fresh diced garlic is great but garlic powder is easier)
drizzle a little olive oil or canola oil
wrap up in foil and throw in campfire
bbq tongs with bbq glove to pull out
open foil and make sure potato is soft
This sounds amazing, Frankie! I’ll be posting Mickeys for the rest of our readers. Thanks!!