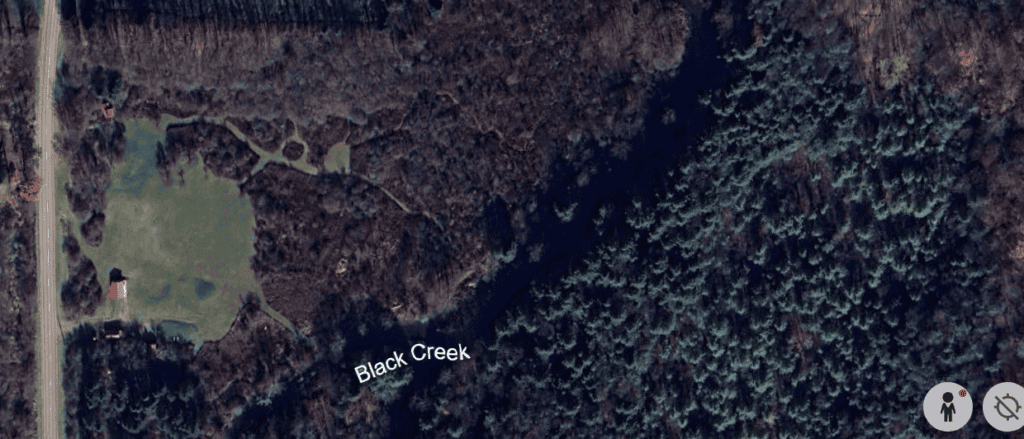
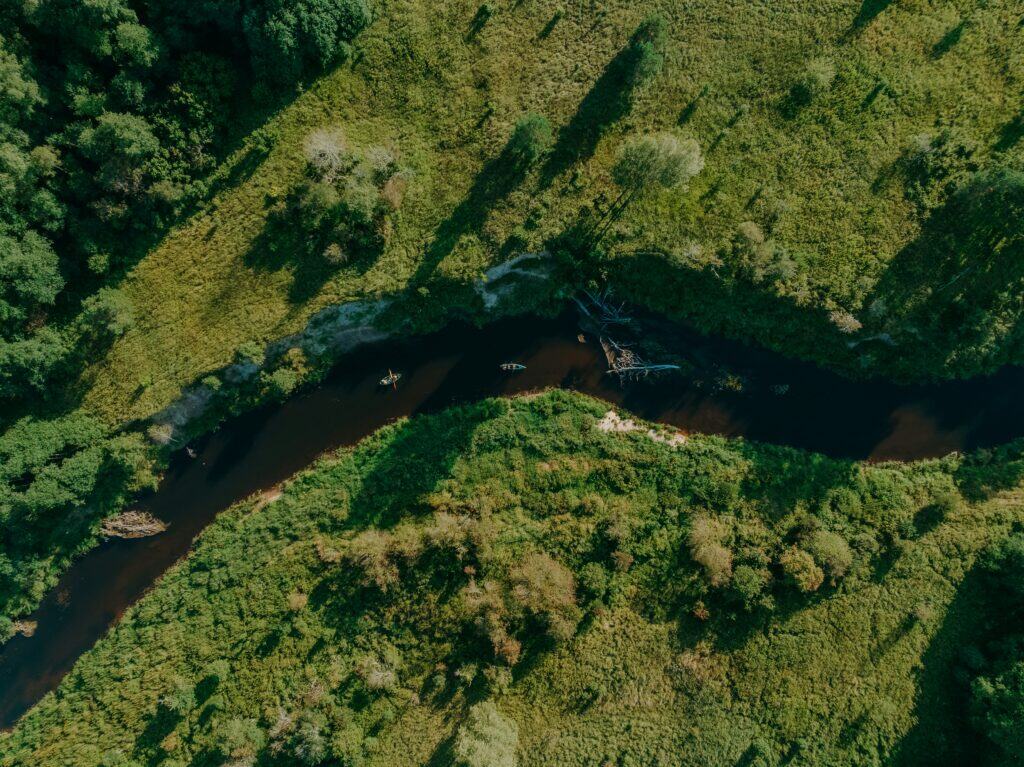
Google Earth updated the view of our property this week! It took a couple years but it was worth the wait. From far above, we can see the five buildings that we’ve built, driveways, parking areas, and trails heading toward the creek (see below).
It’s the perfect tool to help us see how far we’ve come, as well as to see where we want to head.
Building. Clearing. Mowing.
Sunrise over the open field. Afternoons on the creek. Laying back and checking out the night sky.
From the Google Earth view, we can see where it happens all at once.
Whether you’re scouting new property, expanding an existing glampsite, or fine-tuning your trail map, Google Earth allows you to review terrain, sunlight, access, privacy, and surroundings without putting on your boots. It can save time and money and is completely free.
This article is about using Google Earth strategically to review, design, and plan a successful glamping campsite.
Google Earth As a Tool for Glamping Hosts
Google Earth helps you:
- See your land from multiple angles
- Understand elevation and slope
- Identify natural features
- Plan privacy and spacing
- Visualize guest arrival and flow
- Spot nearby attractions or problem areas
For new hosts, it’s a low-risk planning tool. For established glampsites, it’s a way to improve layouts and expand thoughtfully.
Google Earth for Land Planning
With Google Earth you can see:
- 3D terrain and elevation
- Historical imagery
- Tilt and rotate views
- Measurement tools
Note: Google Earth Pro (desktop) gives the best planning experience — it’s a lot better than the browser version for glampsite design.
Step 1: Evaluating the Property Before You Buy or Build
Before committing to land or major improvements, Google Earth gives you critical insights.
Check Surrounding Land Use
Zoom out and examine:
- Nearby roads or highways
- Neighboring properties
- Industrial areas, farms, or gravel pits
- Power lines or towers
- Public land boundaries
A site that looks secluded on a listing may actually be bordered by a busy road or future development.
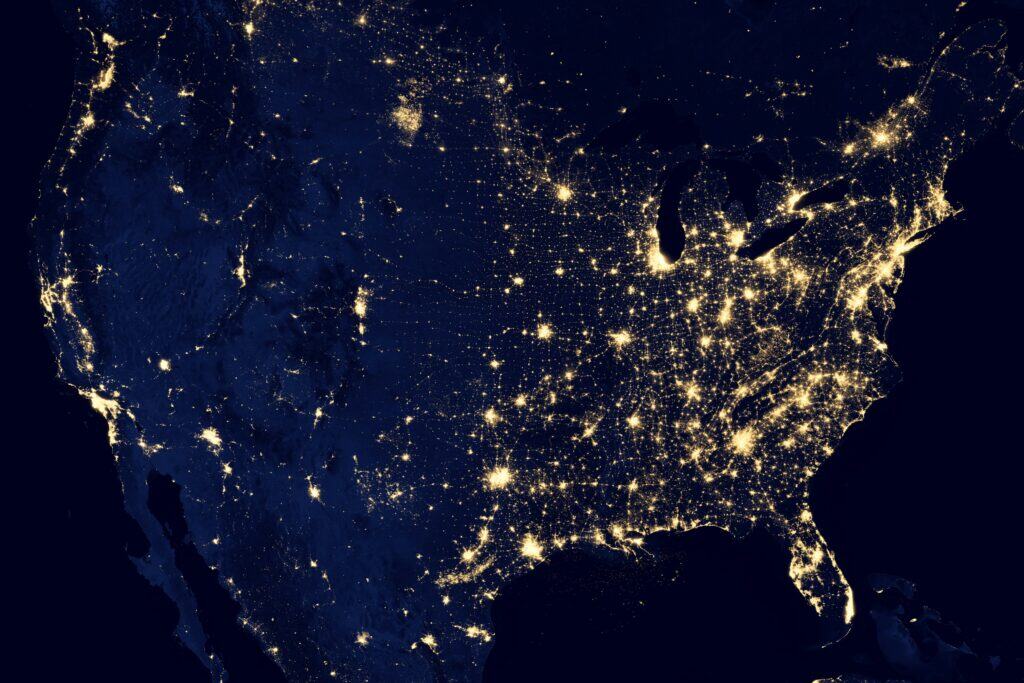
Identify Noise and Light Pollution
Using satellite view and zooming out helps you spot:
- Nearby towns or developments
- Stadiums, parking lots, or businesses
- Large reflective surfaces
This is especially important if your glamping experience focuses on stargazing, peace, or off-grid escapes.
Step 2: Understanding Terrain, Slope, and Elevation
One of Google Earth’s biggest strengths is terrain visualization.
Use the Tilt Feature
Tilt the map to view hills, valleys, and slopes. This helps determine:
- Where water may flow
- Areas prone to flooding
- Flat zones suitable for tents or cabins
- Natural wind protection
Avoid Costly Grading
Placing units on steep slopes often means:
- Expensive site prep
- Drainage problems
- Accessibility challenges
Google Earth lets you identify the flattest areas before you invest in heavy equipment.
Step 3: Planning Tent, Cabin, and Site Placement
Thoughtful site placement improves both guest experience and operational efficiency.
Spacing for Privacy
Measure distances between proposed units to ensure:
- Visual privacy
- Sound buffering
- Separate fire pit areas
Guests expect solitude when they book glamping — Google Earth helps you confirm spacing before construction.
Orientation Matters
Rotate the map and look at:
- Sunrise and sunset directions
- Views of water, mountains, or forests
- Placement away from neighboring buildings
Facing tents toward scenic views — rather than parking areas or utility sheds — dramatically improves perceived value.
Step 4: Using Sun Path to Improve Comfort
Sun exposure plays a huge role in guest comfort.
With Google Earth you can:
- See how shadows fall across the land
- Identify tree cover for natural shade
- Avoid placing units in full afternoon sun
This is especially important for:
- Canvas tents
- Domes
- Summer-heavy glamping operations
A unit with morning sun and afternoon shade will feel cooler and more inviting.
Step 5: Mapping Access Roads, Parking, and Arrival Experience
The guest’s first impression starts long before they reach their tent.
Visualize the Arrival Route
Use Google Earth to:
- Trace the driveway from the road
- Identify sharp turns or steep grades
- Plan signage locations
- Decide where guests should park
Separate Parking From Sleeping Areas
Guests appreciate:
- Quiet nights
- No headlights shining into tents
- A short but scenic walk to their unit
Google Earth helps you design a flow that feels intentional rather than improvised.
Step 6: Planning Amenities and Shared Spaces
Beyond sleeping units, glampsites need communal and functional areas.
Use Google Earth to plan:
- Bathhouse locations
- Outdoor kitchens
- Communal fire pits
- Stargazing platforms
- Yoga decks or gathering areas
Central but Not Intrusive
Shared amenities should be:
- Easy to reach
- Not visible from every unit
- Positioned uphill when possible (for drainage)
Seeing everything from above helps balance accessibility and privacy.
Step 7: Studying Water, Drainage, and Natural Features
Water is both a blessing and a risk.
Identify Natural Water Flow
By viewing elevation and terrain, you can:
- Avoid placing tents in low spots
- Identify seasonal creeks
- Plan drainage routes
- Position leach fields responsibly
Highlight Natural Features
Google Earth makes it easy to spot:
- Rock outcroppings
- Forest edges
- Clearings
- Scenic overlooks
These features often become your most marketable assets.
Step 8: Using Historical Imagery
One of the most overlooked tools in Google Earth is historical imagery.
This allows you to:
- See seasonal changes
- Identify flood patterns
- Understand how vegetation grows over time
- Spot previous land use (logging, farming, trails)
If an area is bare in some images and lush in others, that tells you a story worth paying attention to.
Step 9: Marketing Benefits for Your Glamping Business
Google Earth ca help with marketing too.
Create Accurate Maps for Guests
You can:
- Screenshot layouts for welcome guides
- Show walking paths and amenity locations
- Reduce confusion and late-night messages
Tell a Stronger Story
Knowing your land deeply allows you to:
- Describe views accurately
- Highlight distances to attractions
- Set realistic expectations
This leads to better reviews and fewer complaints.
Step 10: Planning for Expansion and Long-Term Growth
Many glampsite owners outgrow their original layout.
Google Earth helps you:
- Identify future unit locations
- Reserve land for expansion
- Avoid boxing yourself in
- Plan utility runs efficiently
Designing with growth in mind saves money and stress later.
Common Mistakes Google Earth Helps You Avoid
Using Google Earth early can prevent:
- Placing units too close together
- Underestimating slopes
- Ignoring nearby development
- Poor drainage decisions
- Awkward guest flow
- Misjudging views and privacy
A few hours of digital planning can prevent years of frustration.
Planning With Intention
Glamping is about delivering a unique experience in nature. Google Earth allows you to see your land another way and to get a feel for how your guests will experience it.
Whether you’re building from scratch or refining an existing site, this free tool gives you clarity, confidence, and control. Combined with on-the-ground walks and professional input when needed, Google Earth becomes an extremely valuable planning resource.
Before the actual physical work begins, Google Earth helps the land show what’s possible.
Happy hosting!
.
.
.
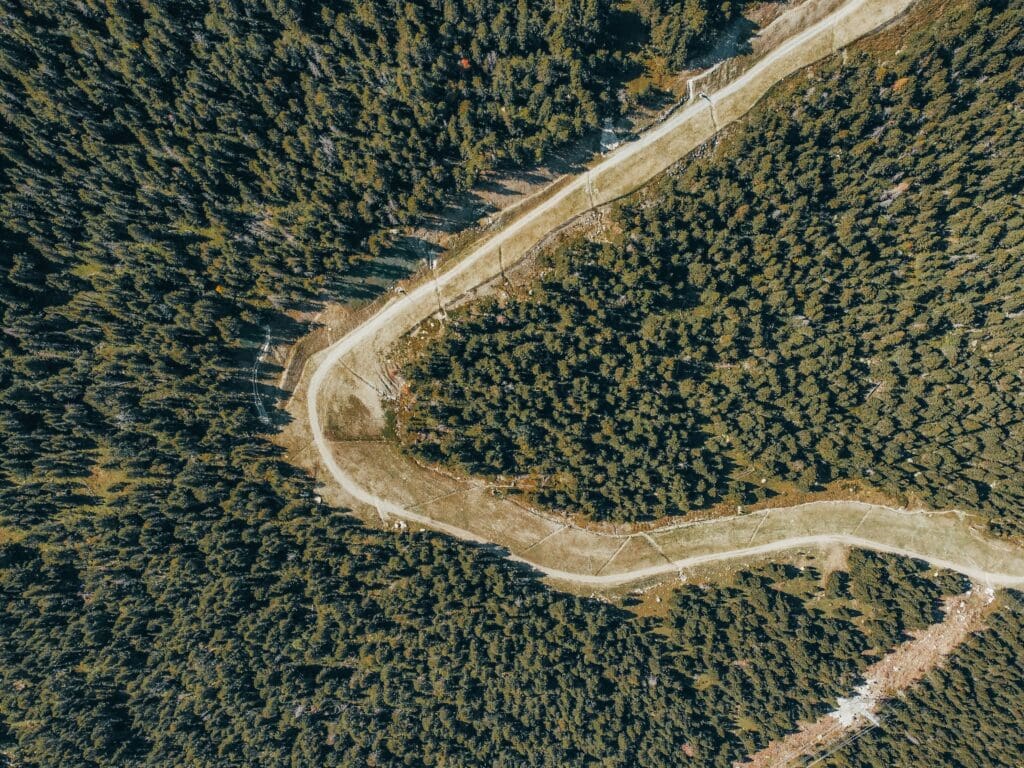
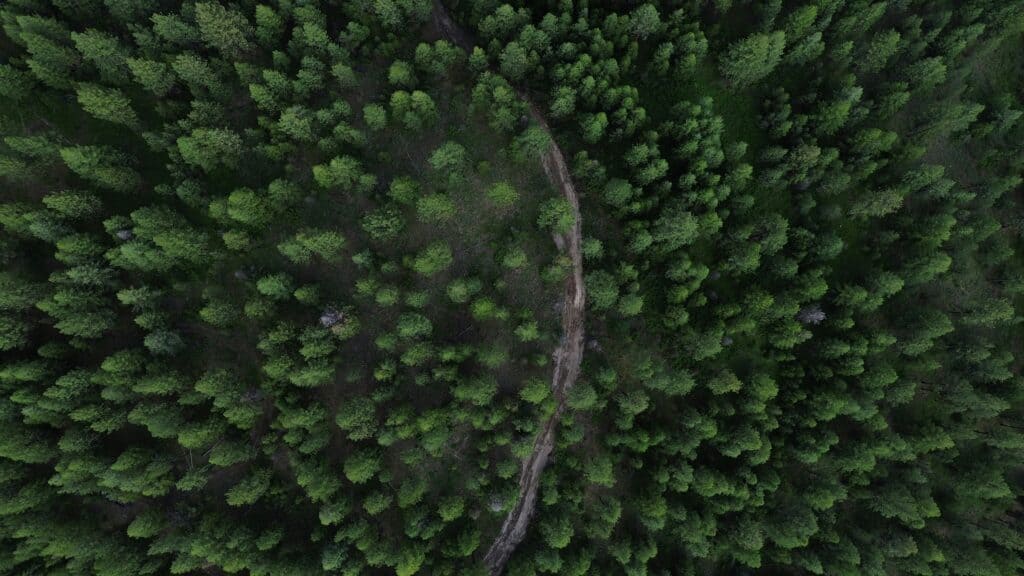
Photo by Quentin Menini on Unsplash